
For background info in what exactly a Wildcard SSL certificate is and how it could be useful, please see our other blog post here: What is Wildcard Certificate?
The catch/trick of requesting certificates (any type of certificate, including a Wildcard certificate) from a Commercial CA (e.g. GoDaddy, Digicert) is this:
The certificate file that the Commercial CA delivers back to us, MUST first be imported on the same system (same windows computer/server) where the CSR was originally created. This system is the ONLY system that will initially be in possession of the private key. If you import/install the .cer file from the Commercial CA anywhere else, the private key will NOT be present. Once the initial import/install of the .cer file is performed on the system where the CSR was first generated, you can then export out the cert WITH the private key included, to a .PFX file. This .PFX file can then be imported anywhere to any system, so long as the PFX import password is known, and that system will also be in possession of the private key.
There are many ways to generate a CSR (Certificate Signing Request). This article outlines the two common methods on a Windows system, using the following built-in Windows tools:
First, create a file called “request.ini” to contain the preferences/settings of your request. Here is an example of a request.ini file for a basic “Wildcard” SSL certificate request:
;—————– request.inf —————–
[Version]
Signature=”$Windows NT$
[NewRequest]
Subject = “CN=*.novick.tech, C=US, S=IN, L=Greenfield, O=Novick Tech, OU=IT, E=it@novick.tech”
KeySpec = 1
KeyLength = 4096
; Can be 1024, 2048, 4096, 8192, or 16384.
; Larger key sizes are more secure, but have
; a greater impact on performance.
Exportable = TRUE
MachineKeySet = TRUE
SMIME = False
PrivateKeyArchive = FALSE
UserProtected = FALSE
UseExistingKeySet = FALSE
ProviderName = “Microsoft RSA SChannel Cryptographic Provider”
ProviderType = 12
RequestType = PKCS10
KeyUsage = 0xa0
HashAlgorithm = SHA256
[EnhancedKeyUsageExtension]
OID=1.3.6.1.5.5.7.3.1 ; this is for Server Authentication
;———————————————–
Pay special attention to the highlighted arguments in the request.ini file:
(adjust these values to suit your environment)
Once your request.ini file is prepared, perform the following to generate the CSR:
Run the following command:
certreq.exe -new request.inf <csr file name of your choice>.csr

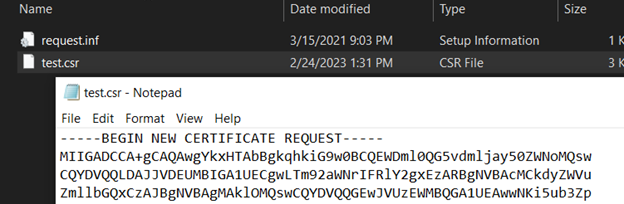
After the command completes, you will have
a CSR file in your working directory. You can open this file in Notepad to see
the contents:
This method uses the native Certificate Manager tool within Windows. For this method, we need to utilize the certlm.msc tool, which is the management tool for computer certificates (because wildcard ssl certificate are inherently device-style certificates). Certlm.msc should not be confused with certmgr.msc, which is specifically for user certificates. It’s useful in other cases, but for this purpose, not so much.
First, launch the Certificate Manager MMC snap-in.
You can either launch it directly via Start > Run, and typing certlm.msc

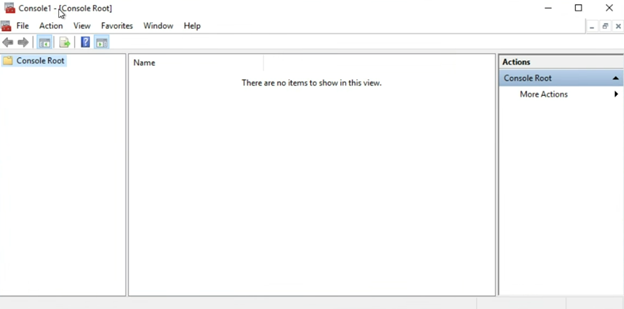
Or, alternatively, you can first launch a blank MMC, then load the snap-in.
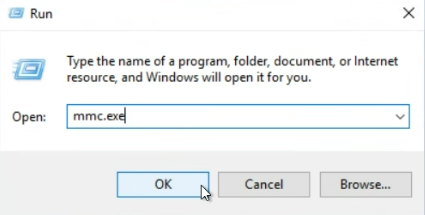
To do it this way, first launch MMC via Start > Run, and typing mmc.exe
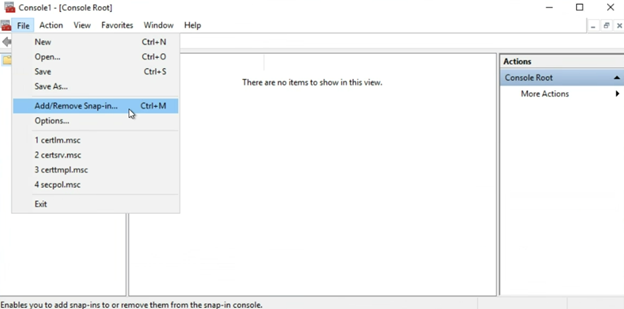
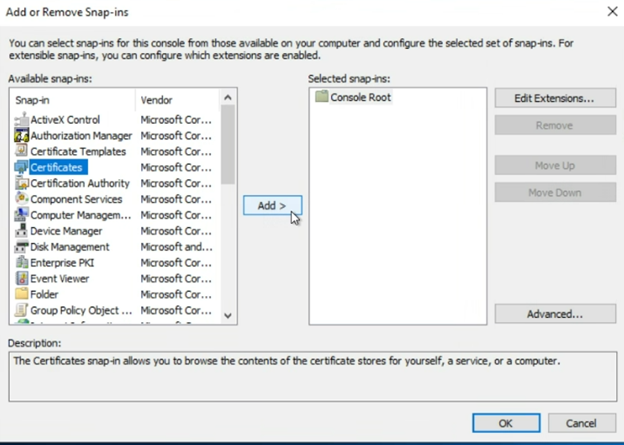
Then click on File > Add/Remove Snap-in…
Then select “Certificates” and click the “Add” button
Be sure to select “Computer account” then click “Next”
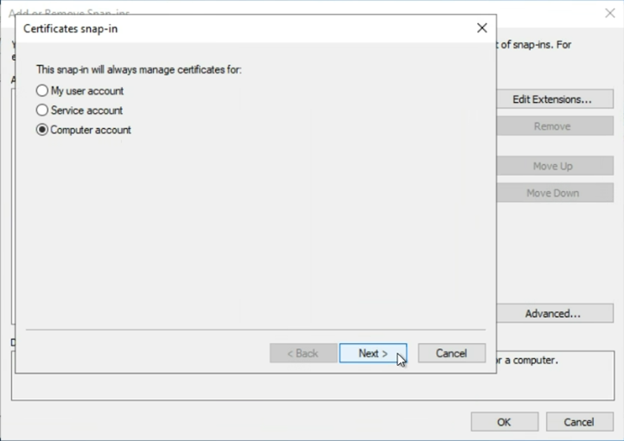
An important note about “My user account” vs “Service account” vs “Computer account”…
In this case, since we are requesting what is essentially a Web Server certificate, we want to select “Computer account”. By selecting Computer Account, we are adding certlm.msc, or the Certificate Local Machine snap-in.
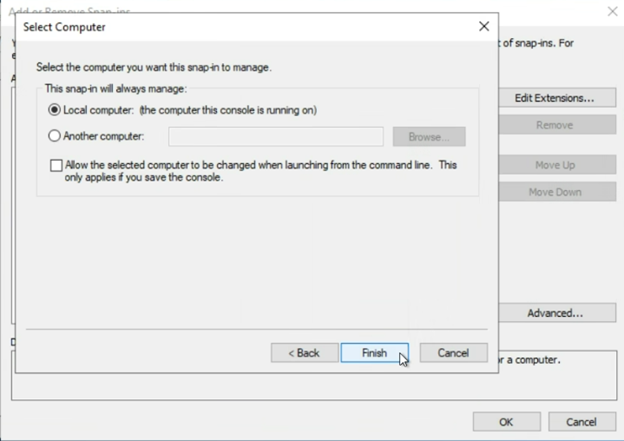
Keep the default selection of “Local computer” then click “Finish”
Then click “OK”
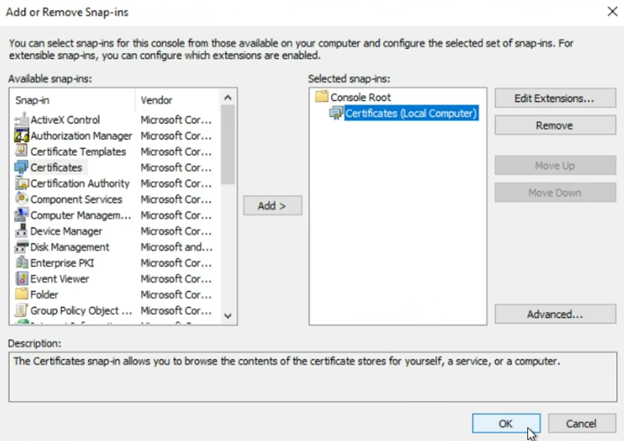
Now that you have the Local Computer certificate store loaded into your MMC…
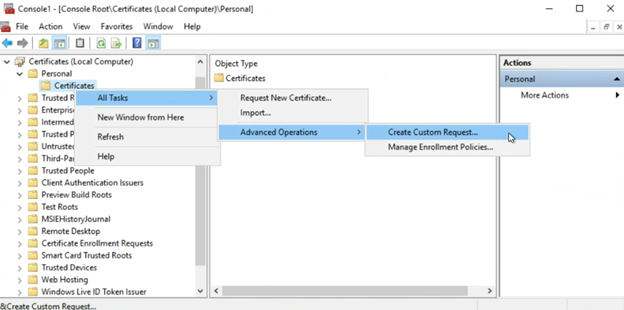
First, expand Personal > Certificates
Then, right-click on either “Certificates” (or in the empty white space in the middle column) and select
“All Tasks” > “Advanced Operations” > “Create Custom Request”
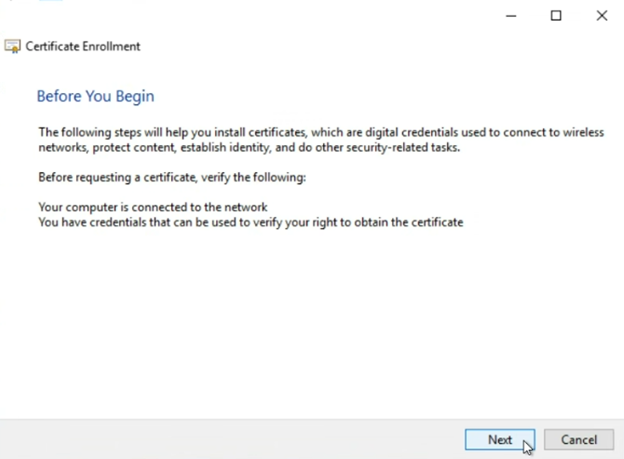
The custom request wizard screen will open, click “Next”
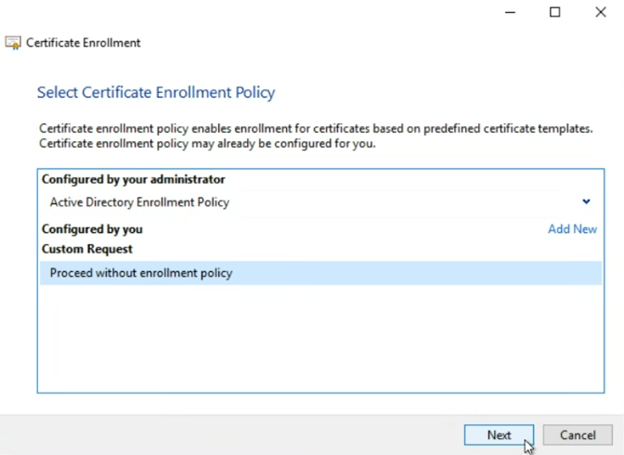
On the “Select Certificate Enrollment Policy” screen, select “Proceed without enrollment policy” and click “Next”
(If presented with the option, select proceed without enrollment policy. On a non-domain joined machine or a domain without ADCS installed, it may look different.)
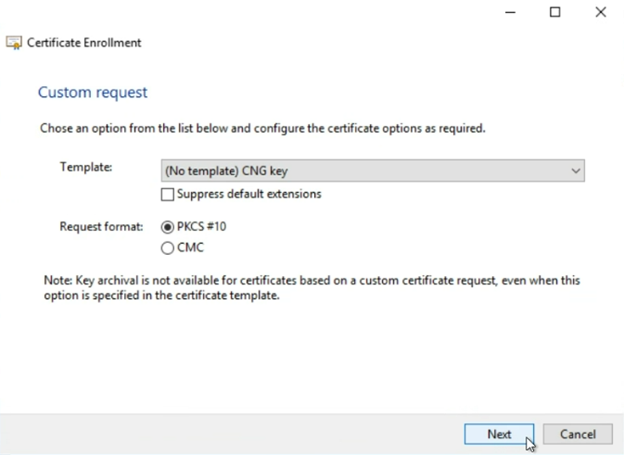
On the “Custom Request” screen, for “Template:” make sure “(No template)” option is selected
For “Request format:” select “PKCS #10”
Click “Next”
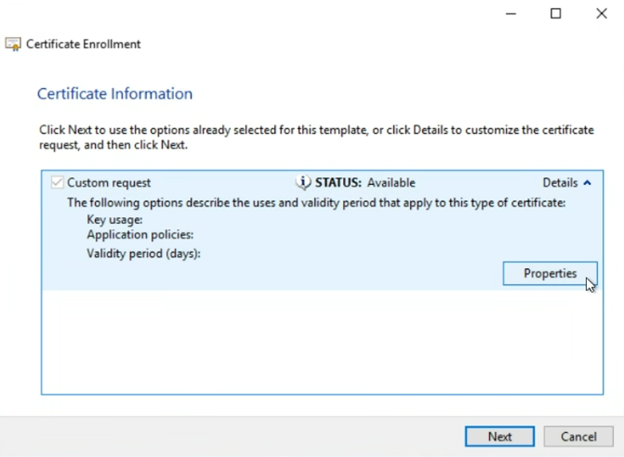
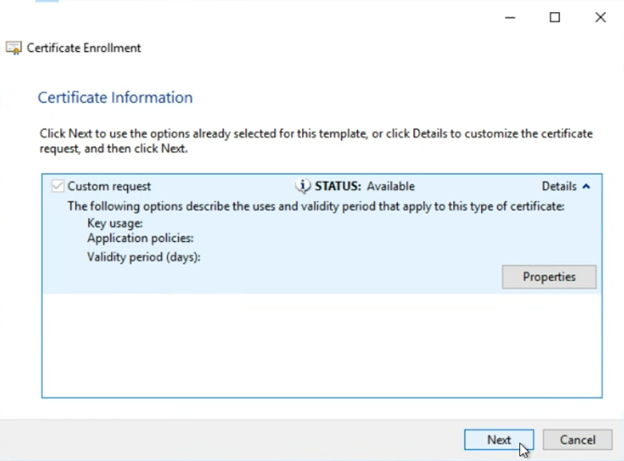
On the “Certificate Information” screen, expand the “Custom request” to reveal the “Properties” button
Click “Properties”
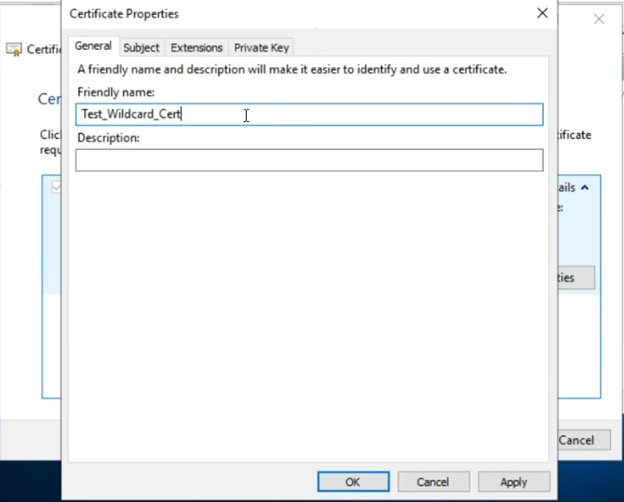
In the “Certificate Properties” window, there are a few settings that we want to check and populate on a few tabs…
First, OPTIONAL, enter a friendly name in the “Friendly name” field. This is just a label for easy reference of the issued certificate later. This is an optional step.
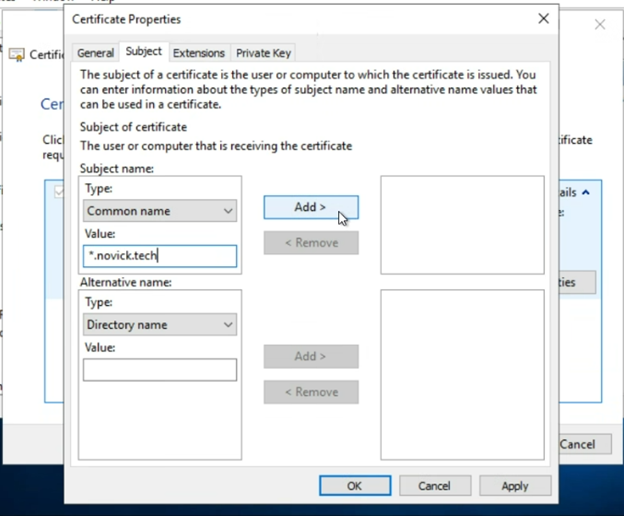
Then, on the “Subject” tab…
Under the “Subject name” section, enter a value in the format of *<.domain.com>
For example, if the domain you are requesting is company.com, enter *.company.com
If the domain you are seeking a wildcard ssl certificate is novick.tech, enter *.novick.tech
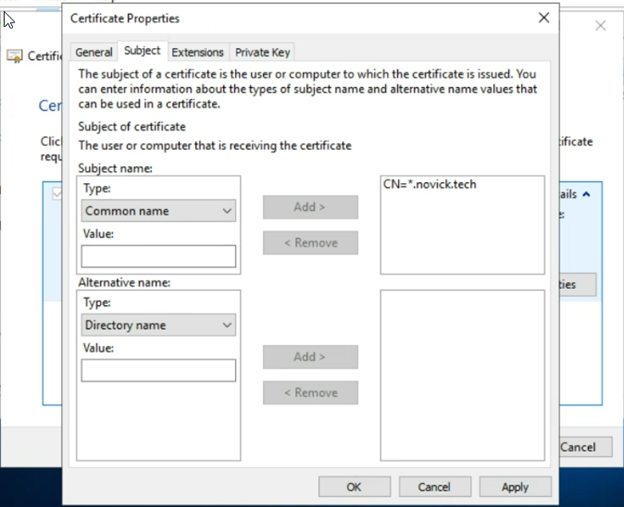
Then click “Add” to add it to the box on the right of the screen
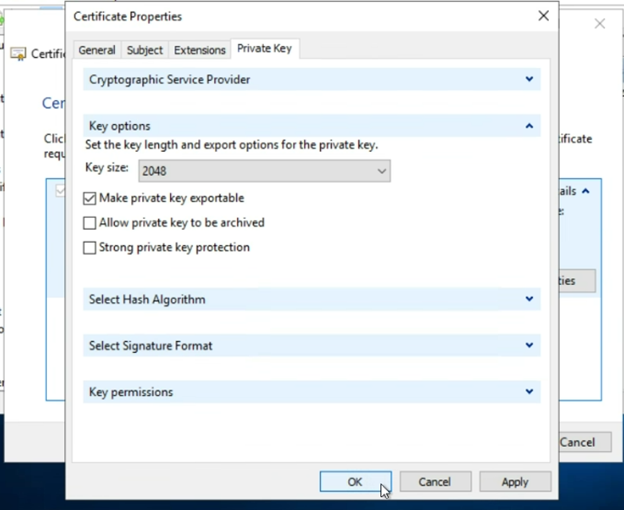
The last tab we want to check is the “Private Key” tab
Expand the “Key options” section, and ensure that…
“Key Size” matches what we want (minimum 2048 is recommended, 4096 is preferred for greater security if supported by your CA)
Ensure that the check box next to “Make private key exportable” is checked
(This step is important due to the GOTCHA called out at the top of this article. See the “READ THIS FIRST” section for more info.)
Click “OK”
Click “Next”
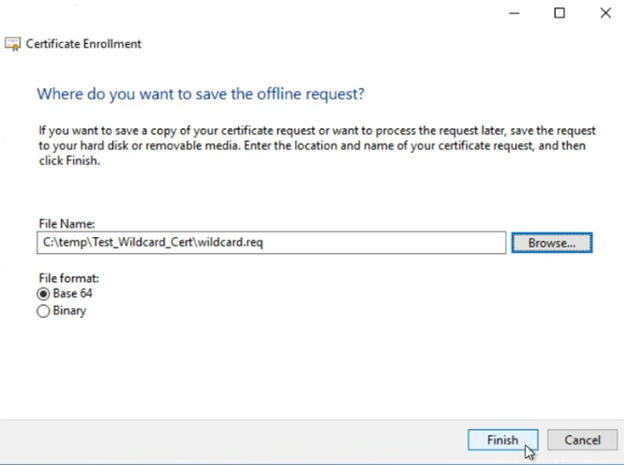
On the “Where do you want to save the offline request?” screen
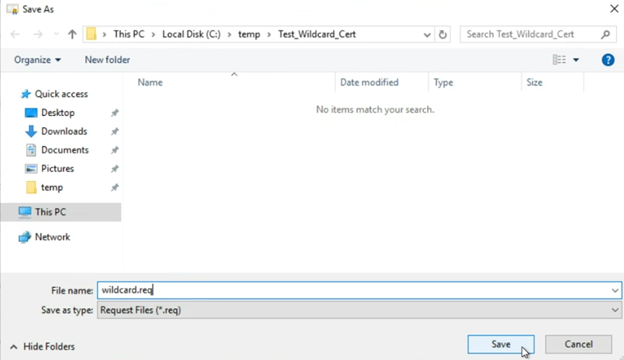
Click “Browse…” and select where you want to save the CSR file you are about to generate
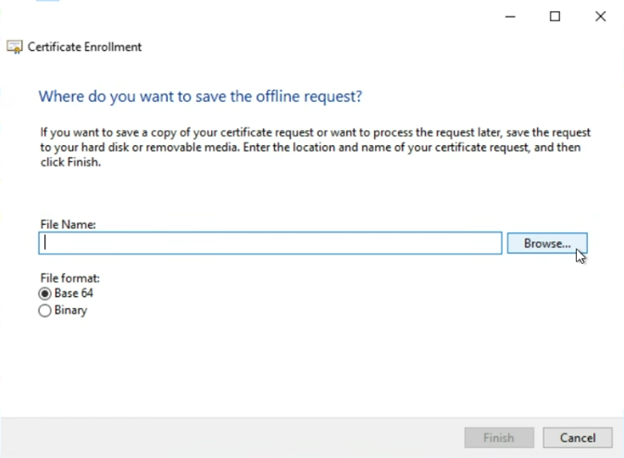
For “File format” select “Base 64”
Then click “Finish”
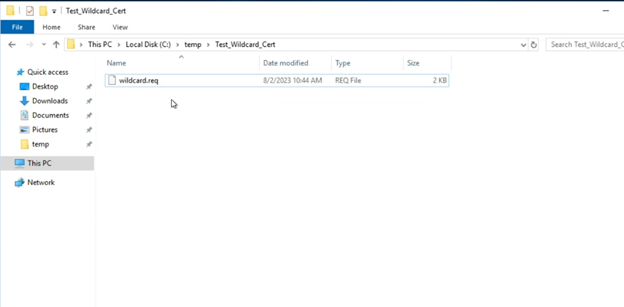
Your CSR file will be generated and saved at the file path you selected in the previous step
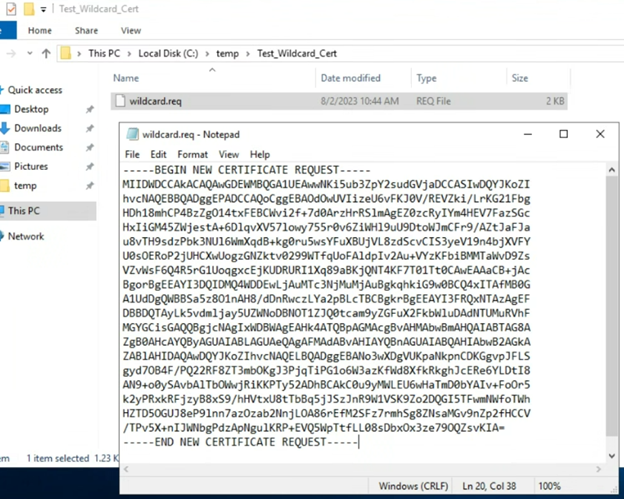
If you selected “Base 64” as the file format in the previous step, you can open the CSR file in a standard text editor (such as Notepad) and view the contents of the request
(This is a benefit of using the Base 64 file format)
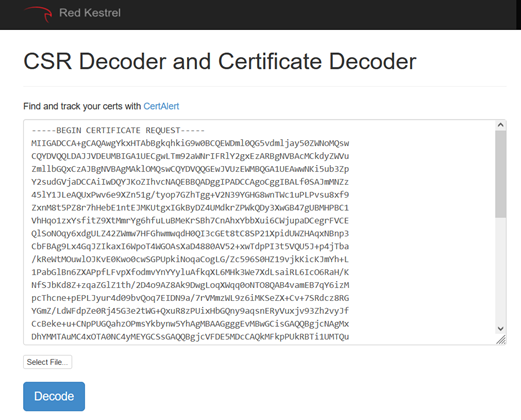
To sanity check your CSR before submitting to your Commercial CA, you can use one of the free online “CSR Decoder” tools. For example: https://redkestrel.co.uk/products/decoder/
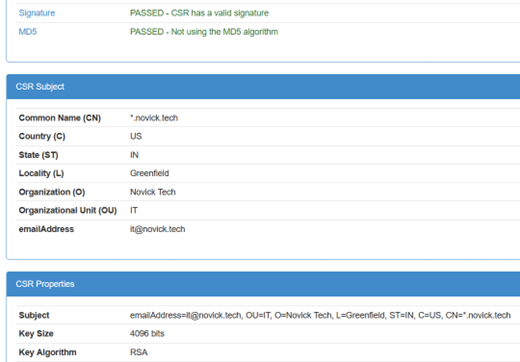
If sanity check looks good, you can now submit the CSR to your Commercial CA.
REMEMBER! – The certificate file that the Commercial CA delivers back to us, MUST first be imported on the same system (same windows computer/server) where the CSR was originally created. This system is the ONLY system that will initially be in possession of the private key.
See the “READ THIS FIRST” section for more info.


Phone: 317-524-6346
Email: info@novick.tech